
3.1. Signing In
You can connect a computer to the gateway in any of the following ways:
- Connect the computer’s LAN port directly to the gateway’s LAN1 port, or to LAN1 through a switch, then set the computer’s IP address to an address on the same subnet as the gateway’s LAN1 port, with the same subnet mask.
- Connect the computer’s LAN port directly to the gateway’s LAN2 port, or to LAN2 through a switch, then set the computer to obtain its IP address automatically.
- Connect the computer and the gateway to the same wireless network. You must first use method (1) or (2) to connect, sign in and configure the gateway’s WiFi connection.
Once connected, you can sign in to the gateway management page in either of the following two ways:
Method 1: Signing In by Domain Name
Section titled “Method 1: Signing In by Domain Name”In the address bar of the computer’s browser (Chrome recommended), enter the following address:
http://iotgw.localPress Enter to open the gateway management login page. The initial account and password are both admin. Click Login. You can switch the interface language in the top-right corner.
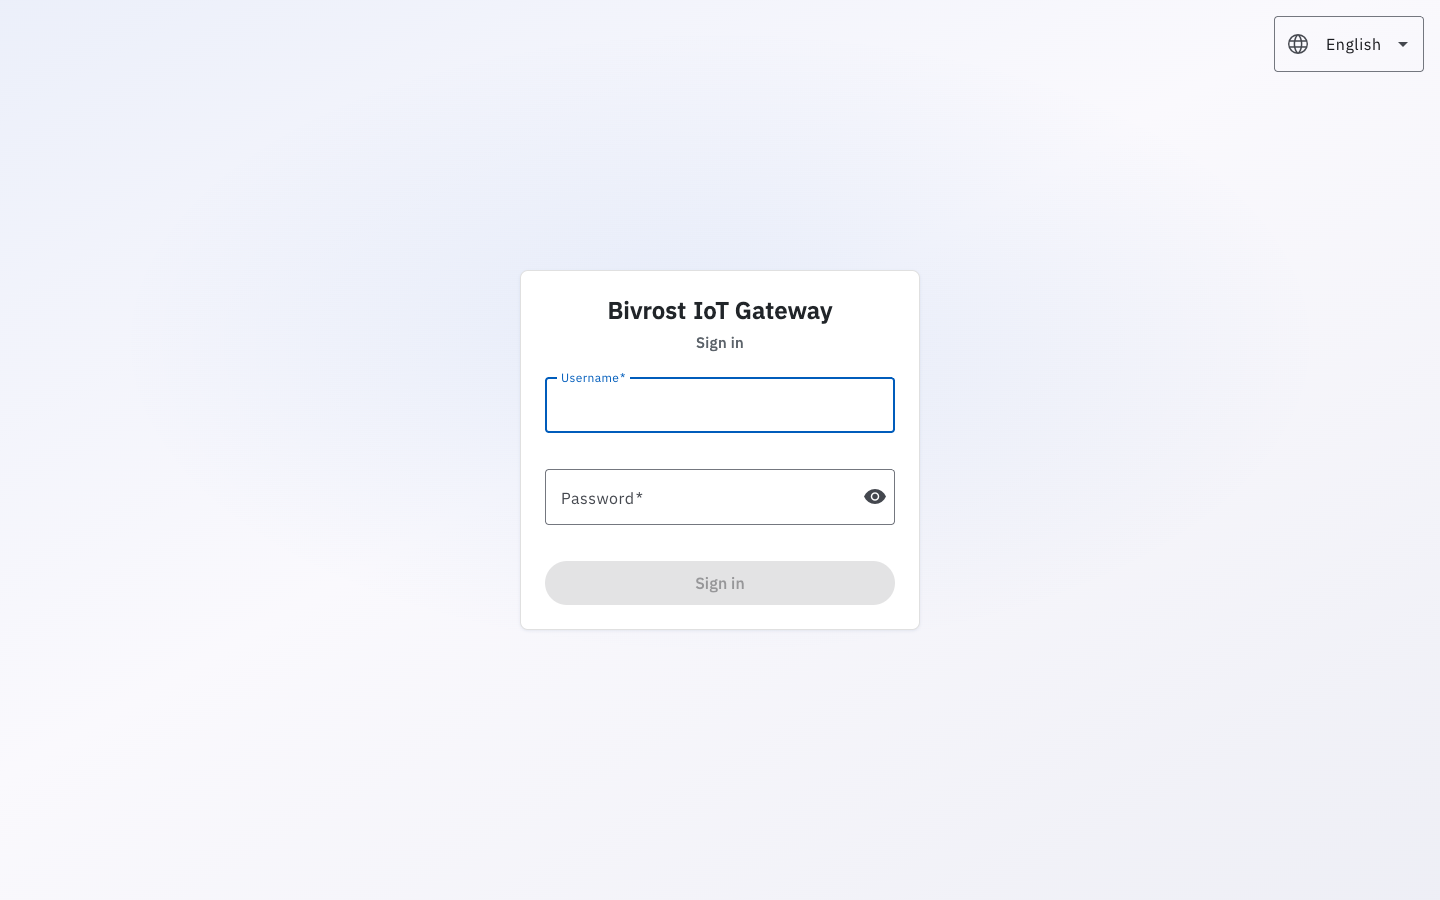
If sign-in fails, disconnect any other devices so that the computer is connected to only one gateway, check the network cabling, and try again.
On some early gateway models, if iotgw does not work, replace iotgw with BIV-[first part of the gateway UID]. The gateway UID is printed on the label on the bottom of the gateway. For example, if the gateway UID is “152KUCG-1TOSJH4-1WXYSON-JY531Q”, the first part of the UID is “152KUCG”, so the address to enter in the browser is:
http://BIV-152KUCG.localMethod 2: Signing In by IP Address
Section titled “Method 2: Signing In by IP Address”Alternatively, in the address bar of the computer’s browser (Chrome recommended), enter the gateway’s IP address (the initial LAN1 IP is 192.168.100.1) and press Enter to open the login page. The initial account and password are both admin. Click Login. You can switch the interface language in the top-right corner.