3.9. DNC (Program Transfer)
This page lets you list, upload, download, delete and back up machine program files and send files to several machines at once, and it has a built-in toolpath viewer. Use it to verify a setup before it goes live, or as a lightweight file manager for your machines.
If you have changed any Machines, Groups, Tasks or Communication settings, click Restart Service on the Home page before transferring programs.
Program transfer uses the file-transfer parts of the HTTP protocol. For details, see 2.6, File Management Interfaces,.
Machine Directory
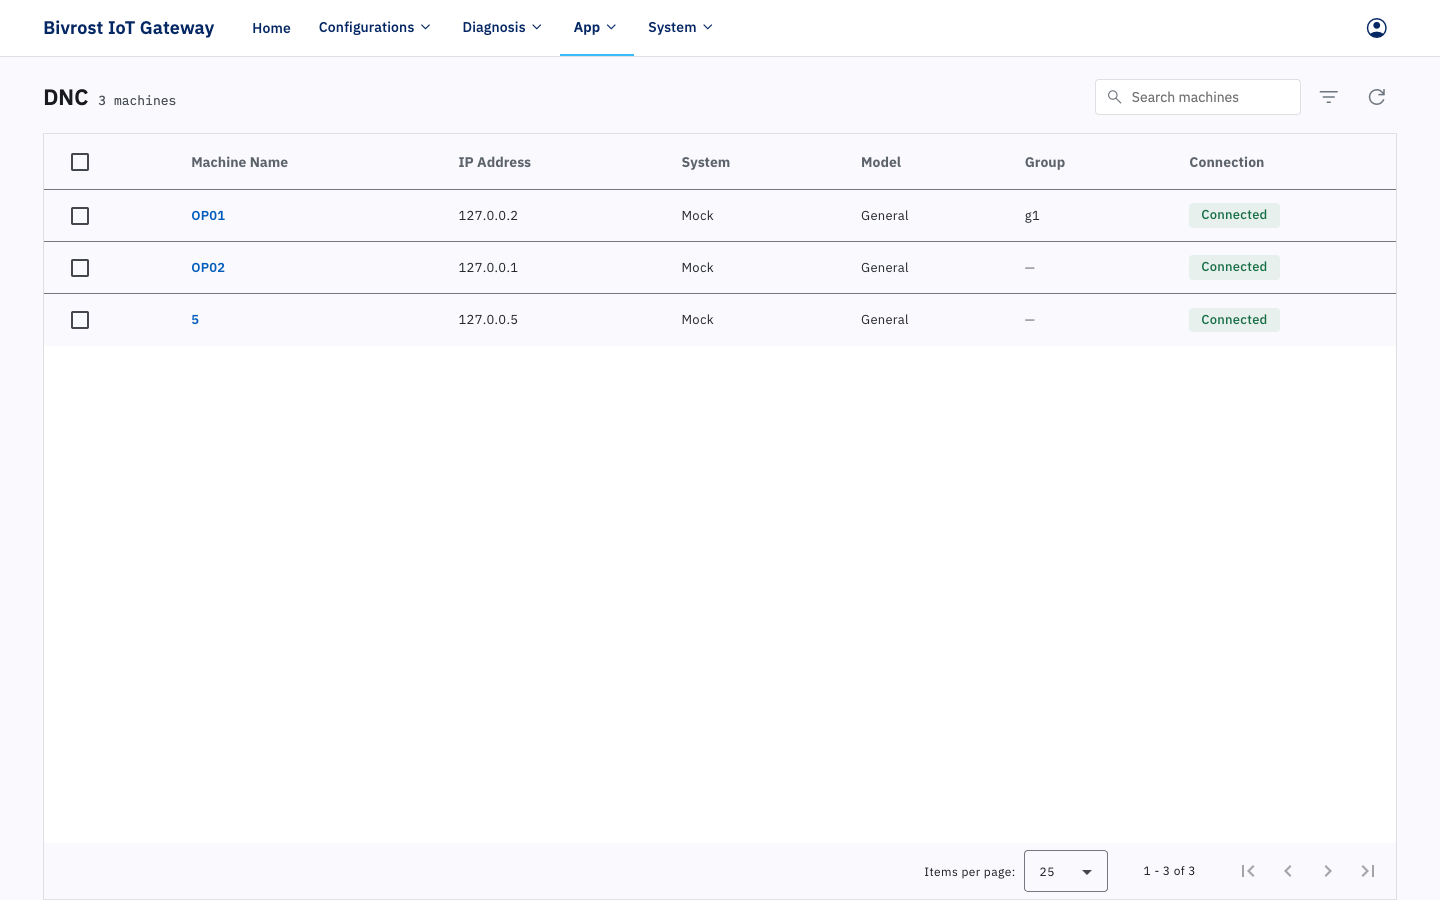
Section titled “Machine Directory”The DNC page opens on the machine directory: every machine that supports program transfer, together with its IP address, system model, group and connection status. DNC is unavailable for offline machines.
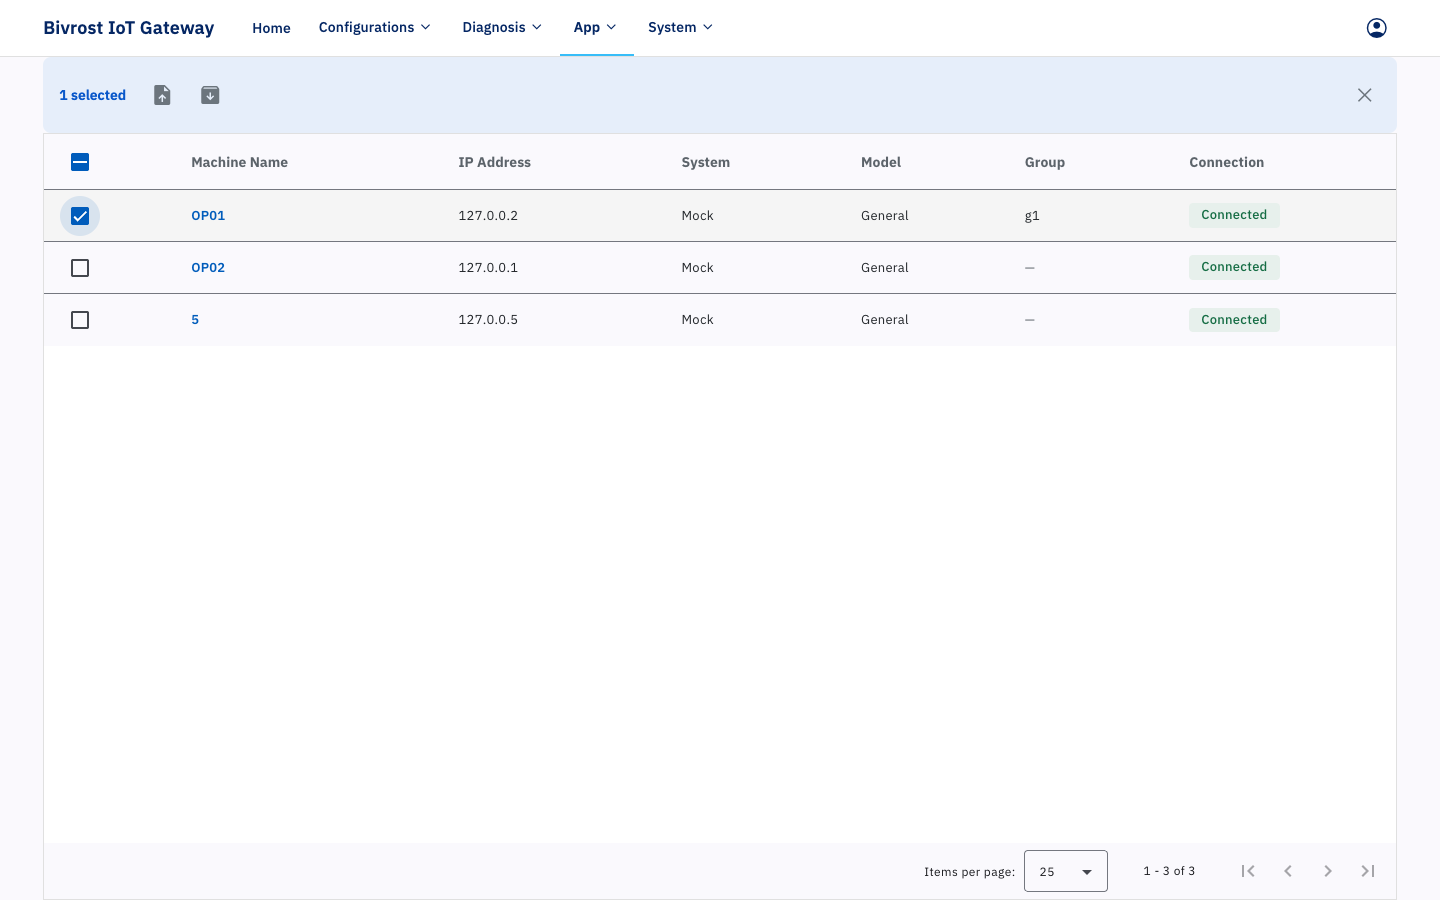
Select one or more machines and the Fleet actions bar appears at the top of the page, offering Send files and Download machine files (backup) for the selected machines.
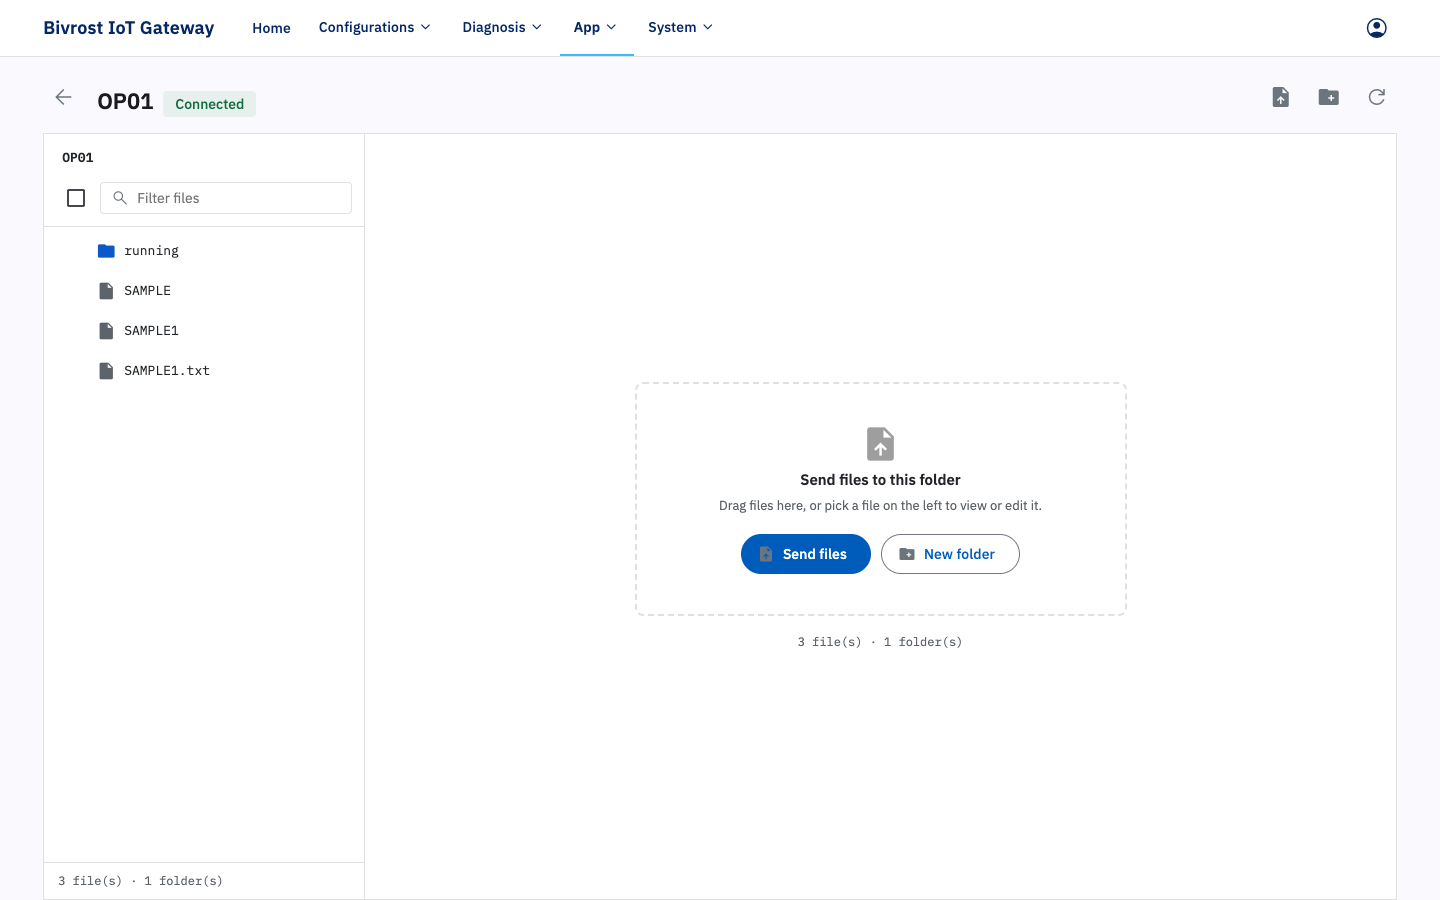
Click a machine name to open that machine’s file browser.
3.9.1. Reading a Machine’s File List
Section titled “3.9.1. Reading a Machine’s File List”The left-hand panel of the file browser lists the folders and files under the machine’s root directory (configured in 3.3.1.3. DNC Settings). Click a folder to open it; use the breadcrumb above the list to go back up. A filter box above the list narrows the view by file name.
On Mitsubishi controls, a target path holding a large number of files can take a while to list.
If the file list does not respond for a long time and no error appears, go to the API Test page and use the Common Data interface to check that the gateway can talk to the machine.
3.9.2. Receiving a Machine File to Your Computer
Section titled “3.9.2. Receiving a Machine File to Your Computer”Click a file in the left-hand list and the gateway receives it from the machine and shows its contents in the preview pane on the right. The ‹ › buttons at the top left of the preview pane step through the files.
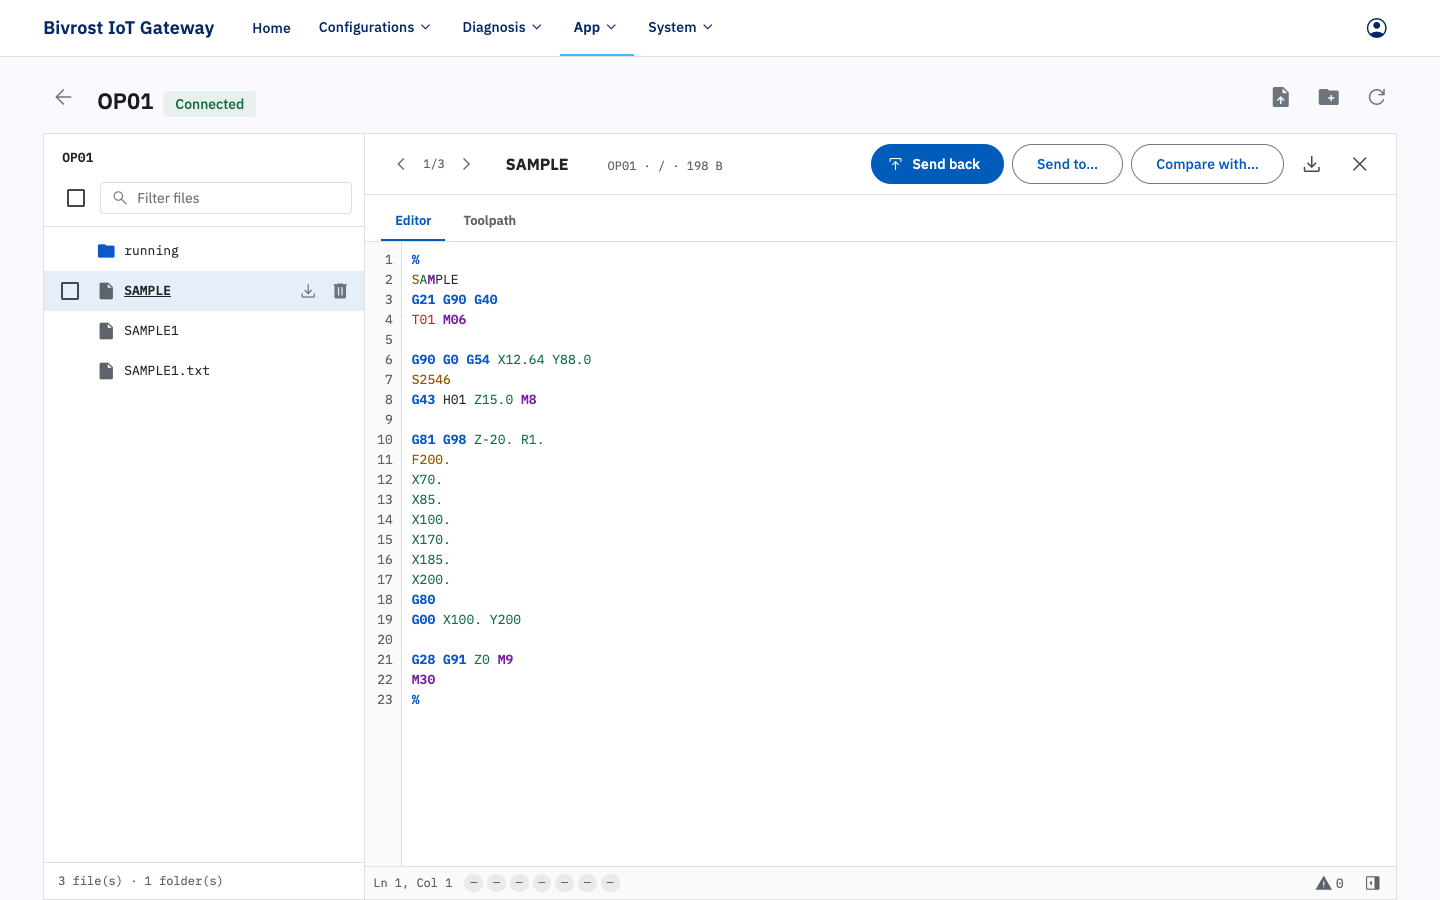
Click the Download icon at the top right of the preview pane to save the received file through your browser. The file lands in your browser’s default download folder. You can also open your browser’s download settings to change that folder, or have the browser ask you where to save each download. Alternatively, hover over a file in the list and click the Download icon on the right of the row to download it directly.
Binary files cannot be shown in the preview pane, but they can still be downloaded.
3.9.3. Sending a Local File to a Machine
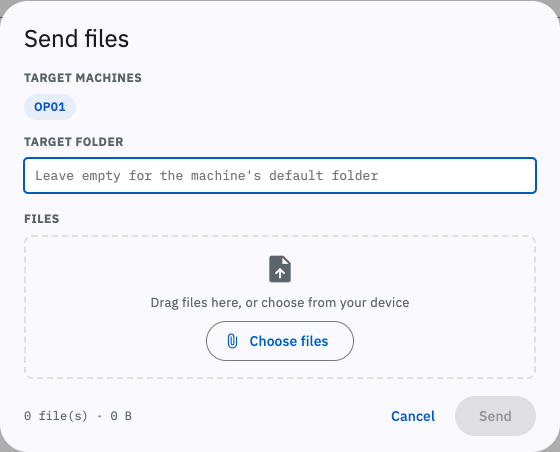
Section titled “3.9.3. Sending a Local File to a Machine”Click the Upload files button at the top right of the page (or select machines in the machine directory and click Send files) to open the “Send files” dialog:
- Confirm the target machine and the target folder (leave the folder empty for the machine’s default folder);
- Drag files into the dialog, or click Choose files to pick them from your computer — several files can be selected at once;
- Click Send. The files are sent to the target folder on the machine.
After editing a file in the preview pane, you can also click Send back to return the edited contents to the current machine, or Send to… to send them to other machines.
If the connection to the machine drops partway through a send, that file shows error code 132 (sending the CNC file was interrupted; the CNC may keep a truncated copy), and the gateway then refreshes the machine’s directory to show the truncated program. Click Retry failed to send it again and overwrite it; if you are not resending, delete it from the machine directory by hand so it is not run by mistake.
3.9.4. Deleting a Machine File
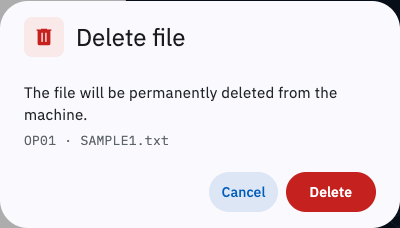
Section titled “3.9.4. Deleting a Machine File”In the left-hand file list, hover over a file, click the Delete icon on the right of the row and confirm in the dialog that appears. The file is then deleted.
3.9.5. Creating a Machine Folder
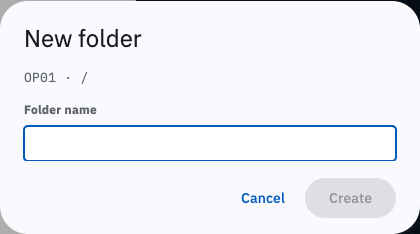
Section titled “3.9.5. Creating a Machine Folder”Click the New folder icon at the top right of the page to open the new folder dialog, enter a folder name and click Create. The folder is created inside the current folder.
3.9.6. Deleting a Machine Folder
Section titled “3.9.6. Deleting a Machine Folder”In the left-hand file list, hover over a folder, click the Delete icon on the right of the row and confirm in the delete folder dialog. Only empty folders can be deleted at present, so delete all files and subfolders inside it first.
3.9.7. Backing Up Machine Files
Section titled “3.9.7. Backing Up Machine Files”This function packs the files of the selected machines — including subfolders and their contents — into a single ZIP archive for you to download. Inside the archive, the first level is a folder named “BackupFiles_” followed by the backup date and time; the second level is one folder per machine root directory, named “machineID_machineName”; below that are each machine’s files and folders, with the original folder structure preserved.
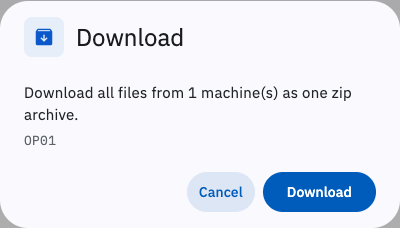
In the machine directory, select the machines to back up (tick All machines in the table header to select every machine), click Download machine files (backup) in the Fleet actions bar, then click Download in the confirmation dialog to start the backup. Once the archive is ready, it can be downloaded to your computer.
3.9.8. Batch Sending Files
Section titled “3.9.8. Batch Sending Files”Select several machines in the machine directory and click Send files to send the same set of files to a chosen folder on all of them in one go. In the “Send files” dialog you can click Choose files repeatedly to add files from different locations; confirm the target folder and click Send.
The send runs as a single batch and the gateway transfers to each machine in turn. If a file of the same name already exists at the destination, you are asked to confirm the replacement.
3.9.9. Viewing the Toolpath
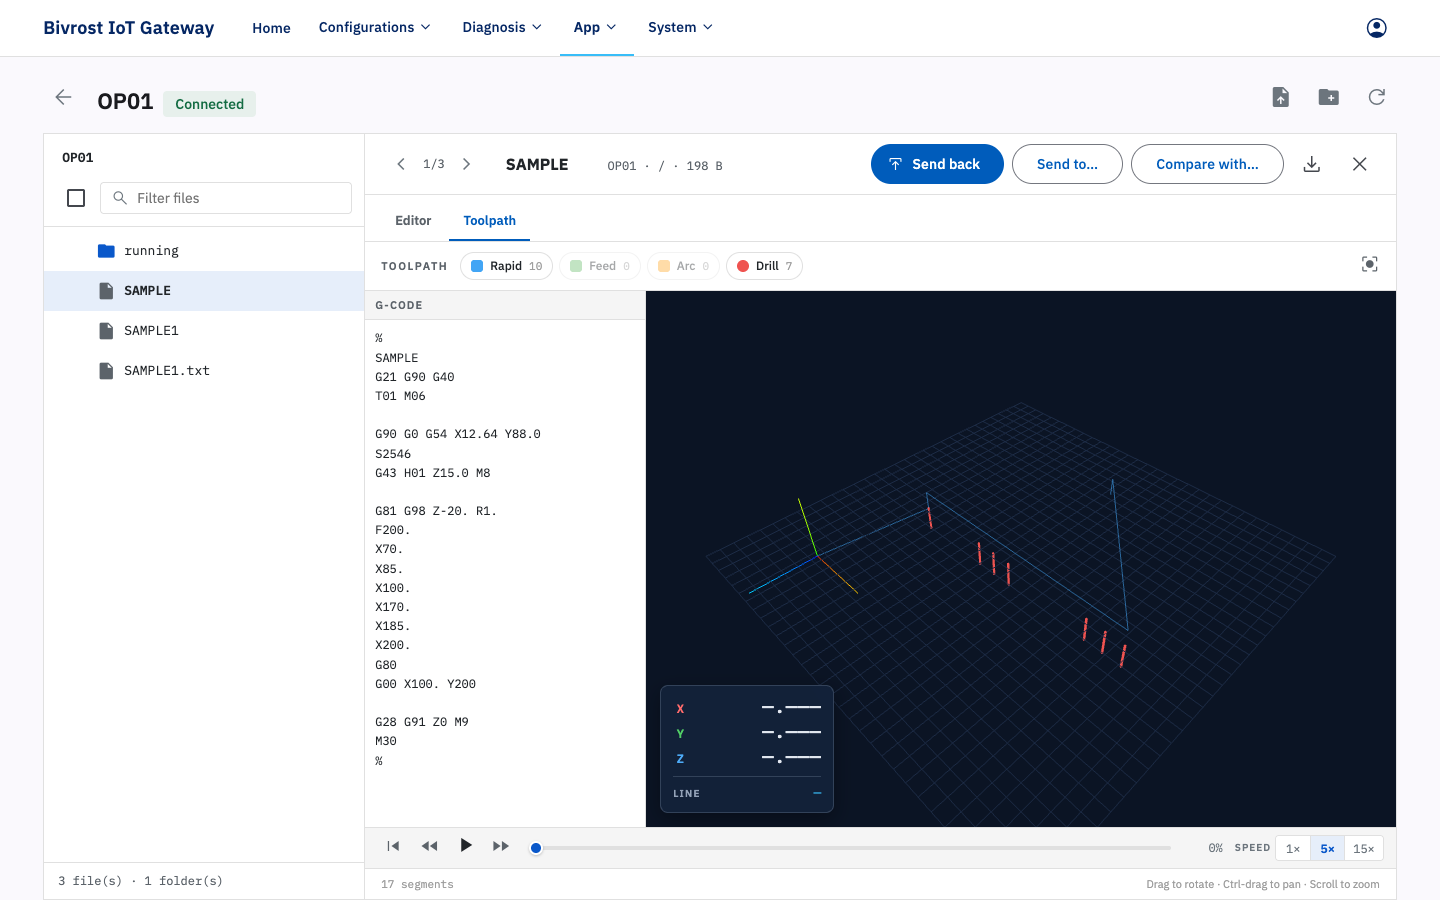
Section titled “3.9.9. Viewing the Toolpath”Two tabs, Editor and Toolpath, sit above the file preview pane. Once a G-code file is loaded (received from the machine — see 3.9.2. Receiving a Machine File to Your Computer), switch to the Toolpath tab to open the toolpath viewer.
The viewer shows the G-code on the left and an animation of the corresponding toolpath on the right, with X/Y/Z position readouts (DRO) and the current line. The legend above distinguishes toolpath types such as Rapid, Feed, Arc and Drill. Drag to rotate the view, scroll to zoom and adjust the playback speed to study the toolpath directly. If needed, edit the G-code in the code pane on the left and the toolpath on the right updates immediately.